Before devices can be assigned or data can be viewed meaningfully, your building structure (floors and spaces) must be created.
When Should You Use This Page?
Use this when you are adding a new building or preparing your platform for device deployment.
What You’ll See
You’ll see options to create your building structure, including floors and spaces.
Creating a Building
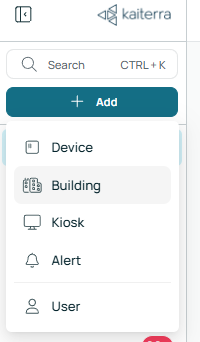
To get started, click the “+ Add” button, located on the left side panel and select Building.
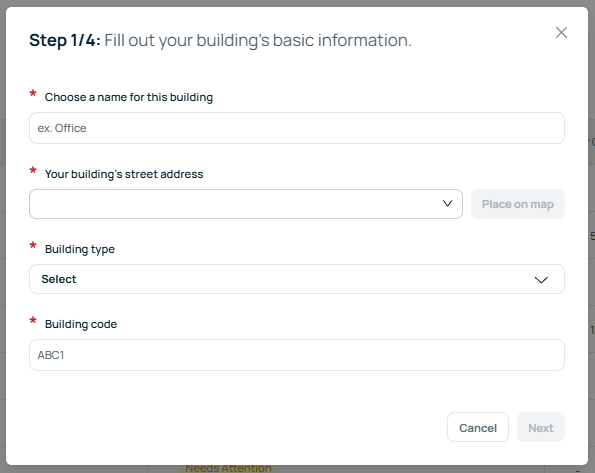
Step 1: Building Information
Enter the basic details of your building, including:
- Building name
- Building address or location
- Building type
- Building code
- This is your internal building code; it helps with organization across multiple projects
Note*
If your building does not have an outdoor sensor, the location and address will be used to reference external weather data, which provides context for your indoor data.
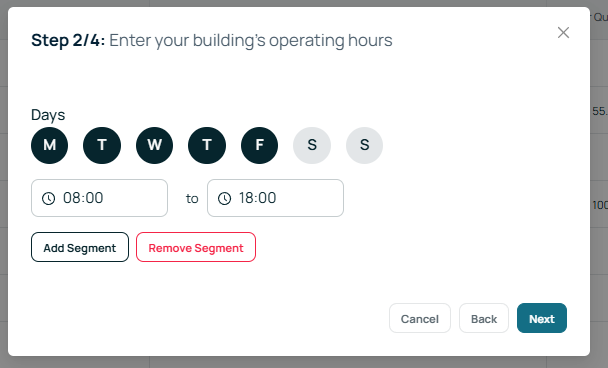
Step 2: Operating Hours
Set your building’s operating schedule.
You can define the days and the operating hours for each day.
If your building has different schedules, you can create multiple segments to reflect your actual operating hours.

Step 3: Creating Floors
Define the number of floors in your building.
Note*
If your building has multiple floors but you only occupy some of them, you should still enter the total number of floors.
When uploading floor plans later, you only need to upload plans for the floors you occupy.
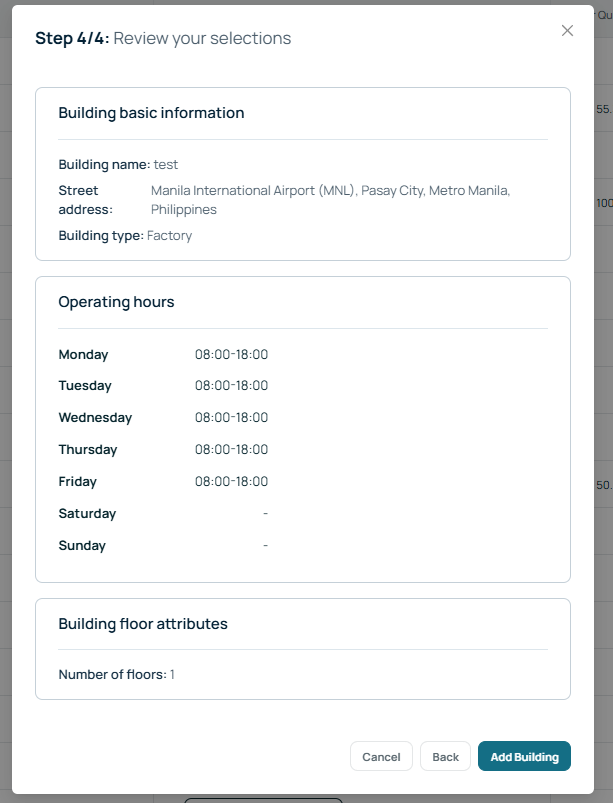
Step 4: Review
Review all the details you have entered.
Once confirmed, complete the setup to create your building.
Creating Spaces
Once your building is created, you can add spaces within it.
To do this, go to the Portfolio Page and select your building. This will take you to the Building Page.
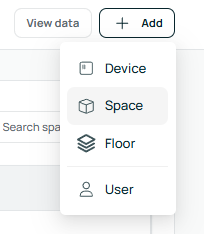
From there, click the pencil icon located at the top right corner of the screen. Then click the “+ Add” button in the same area and select Space.
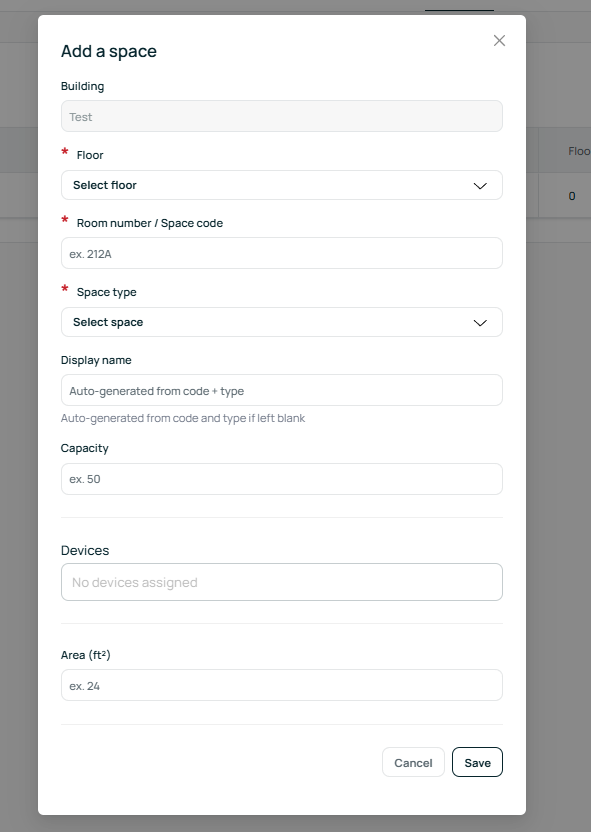
You can then enter the required details, such as the space name and assign it to the correct floor.
Space Details
- Room Number / Space Code: Your internal identifier for the space (e.g., RM-101).
- Space Type: The category of the area, such as a meeting room, office, or zone.
- Display Name: The name of the space as it will appear in the floorplan visualizer